As a beginner, it can be quite daunting to start your first project in your own space. You may find you question yourself. Am I prepared? Am I doing it right? Did I mess this up? Or maybe you’re just winging it. Either way, this blog is designed to steer you away from common beginner mistakes as you enter the world of fantastic fungi!
Please note that this advice is intended to be used in the growing of Gourmet Health Mushrooms only (i.e., Lions Mane, Turkey Tail, etc.).
5. Buying the most expensive, and difficult, kit.
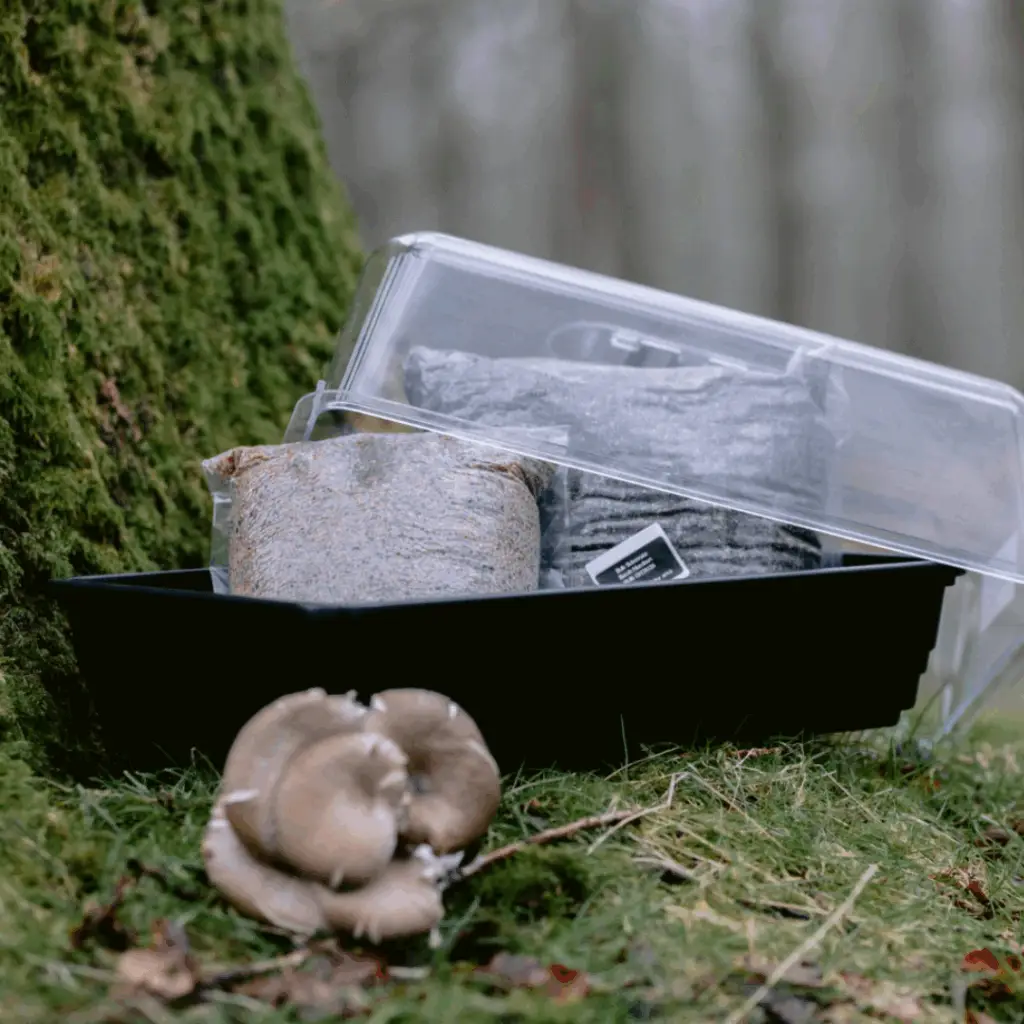
If you scan our site, you may see the “MonoTub Kit” which comes with all you need to start your project. Whilst these kits are amazing and higher yielders than the all-in-one bags, they are far more complex and difficult to start with as a beginner.
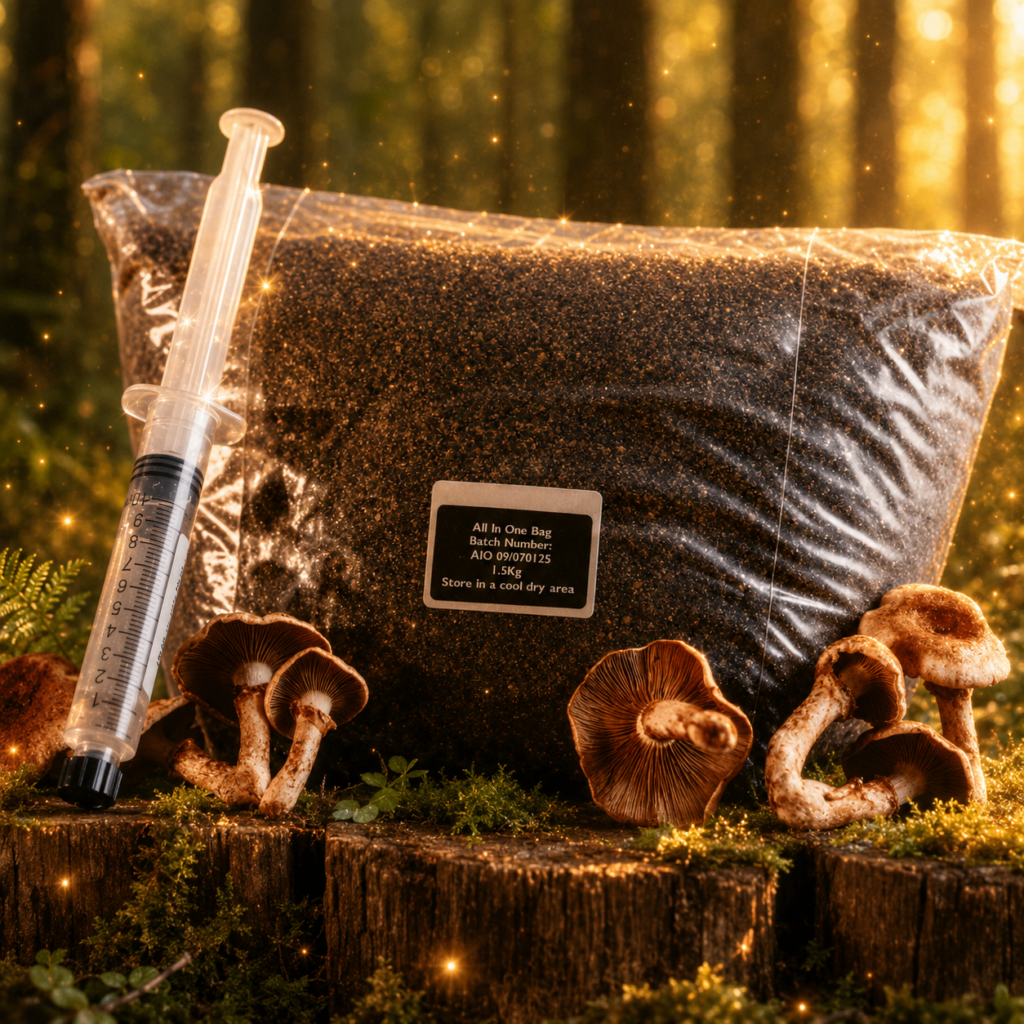
Our all-in-one bags require a quick inoculation, mix-up, and then to be left until fully colonised before you put them out to fruit and introduce more air to them. They are a quick and easy way to get Gourmet Health Mushrooms!
However, the Monotubs require a more hands-on process. After inoculation and full colonisation, you need to mix the grain with substrate and form your own brick, misting and fanning as the kit needs it (typically daily). This requires a lot of intuition as it is very easy to over-hydrate your brick during fruiting which can lead to contamination.
Due to the larger surface area and increased need to interact with this kit, contamination is more likely during the fruiting stage. More advanced mycologists can remove contamination early if spotted, however this can be intimidating for beginners and mistakes can be made more easily.
If you are looking for an easy, low-risk and cost project to begin with, we would recommend the all-in-one bags over the Monotubs any day!
If you like the look of the Monotubs, don’t worry! Give a smaller project a go, see how hydrated the brick should look and apply this learning to your eventual MonoTub set up!
For further information on how the two kits work, you can find the Monotub Guide here and the all-in-one guide here.
4. Incorrect Heat Mat Set-up
Heat mats can be incredibly useful tools to cultivate your project, especially in the cooler months of the year. However, in the warmer months they are often unnecessary and can dry out the brick! They encourage heat retention, which is perfect when the ambient temperature of the room is bellow 24c, but anything over this can overheat your project and potentially kill some of the spores in the bag.
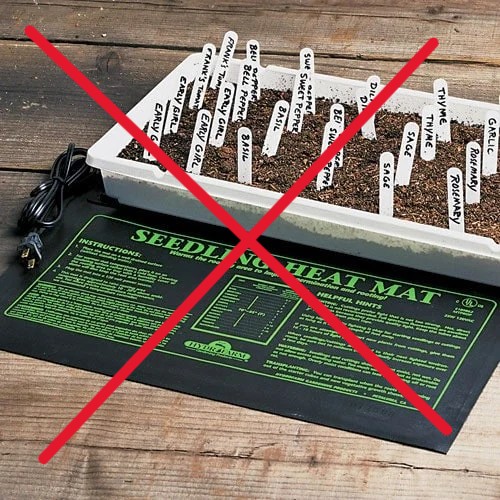
If you are using a heat mat, make sure it has an external temperature probe and that you can choose the temperature of the mat itself. Some seedling heat mats will warm the project by 10-15c above room temperature, which can be too inconsistent and irregular for your project. These rely on internal probes, which can be incorrect.
This is an example of a seedling heat mat, which we would strongly suggest against using in any projects due to their inconsistencies!
When setting up a project with a heat mat, make sure you raise the bag up off of the mat itself, and place the temperature probe on the base of the project itself so you are measuring the heat of the substrate, not the heat mat.
This is the most accurate way to ensure the temperature remains accurate! We would also recommend keeping your project in a plastic fruiting chamber, which you can easily make yourself at home (tutorial incoming!). This will keep the heat and moisture within the bag.
Whether you’re using a heat mat or not, we would strongly recommend keeping a thermometer next to your project so you can monitor the heat accurately!
3. Keeping your Project on the Floor
The floor can be a quick and easy place to set up your project; however, we would strongly recommend against this!
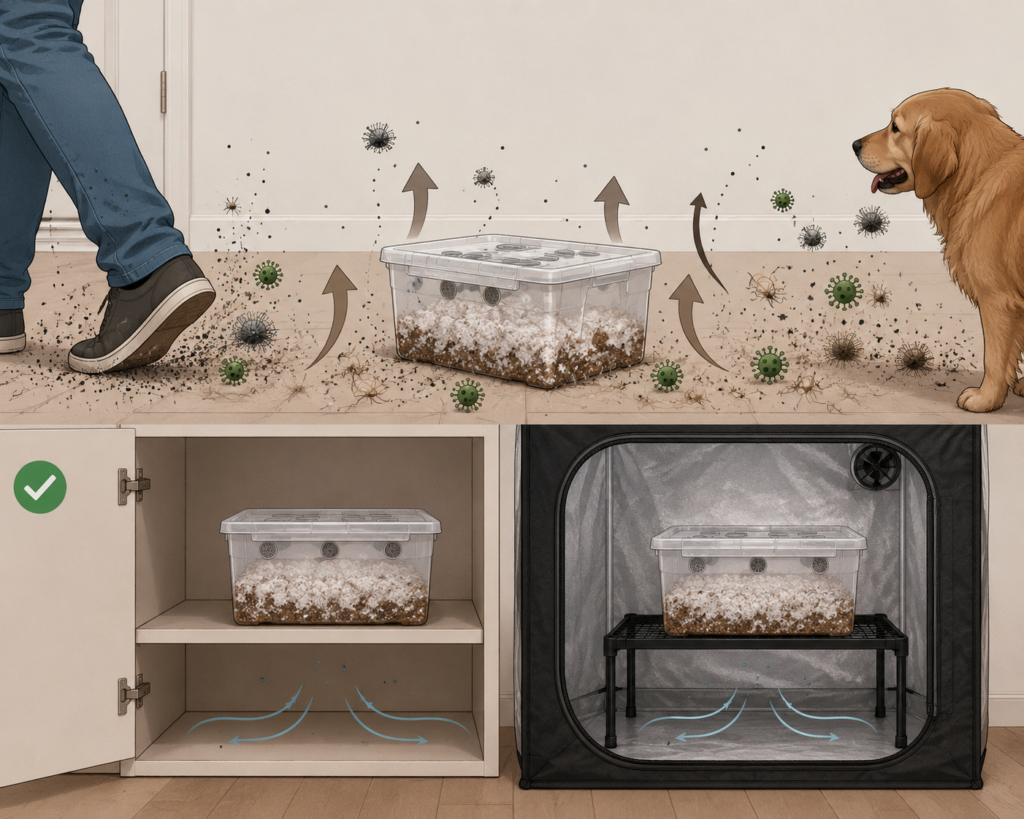
No matter how clean the room is, the floor is where common contaminants reside, like dust and pet dander, which can infiltrate your project.
As you walk through the room you will kick up these particles which can land on your clothes, hands, lid of the fruiting chamber, etc., and bring harmful contaminants such as Trichoderma into contact with your project.
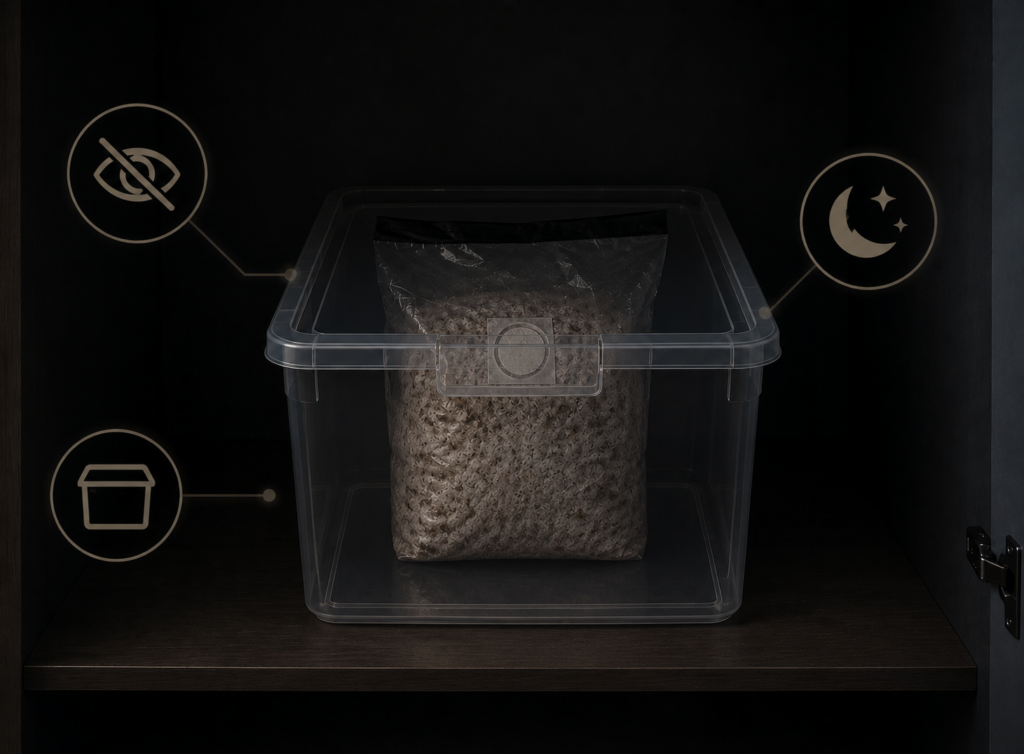
We would recommend keeping your project in a cupboard or fruiting chamber, at least 1½- 2ft off of the floor to avoid this possibility. If you’re serious about mycology, you can also use a grow tent but still ensure you keep the project up off of the floor of the tent!
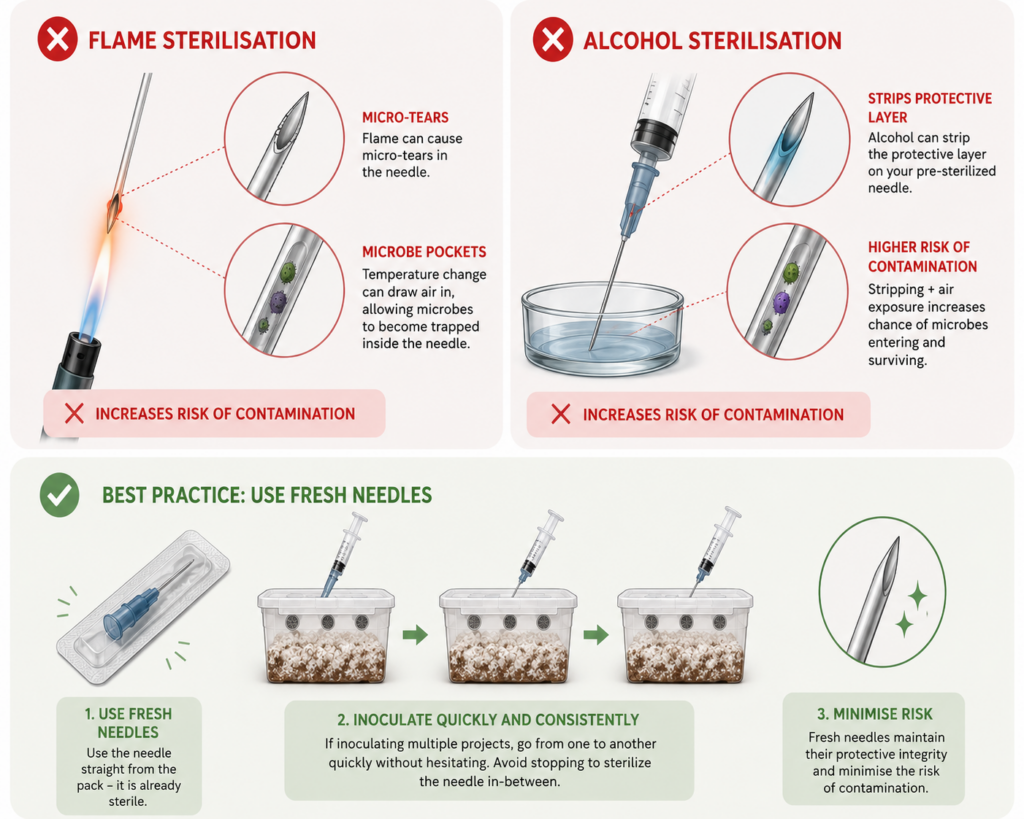
2. Using Heat or Alcohol Sterilization Prior to Inoculation
Fresh, unpackaged needles supplied with your Gourmet Health Mushroom Spores do not require further sterilization. Using further techniques, such as heat or alcohol sterilisation prior to inoculation can contribute to early contamination within your project.
Flame sterilisation can cause micro-tears in the needle itself and the change in temperature can cause air to be taken into the needle suddenly allowing for pockets of microbes to reside in there until inoculation. Both flame and alcohol sterilisation can strip the protective layer on your pre-sterilized needle and increases the chances of contamination.
The best way to avoid this, is to use fresh needles when inoculating your projects every time! If you’re inoculating multiple projects with one Gourmet Health Mushroom syringe, it’s safer to go from one to another quickly without hesitating, than sterilize the needle in-between.
1. Checking on your kit too often
We all know the pain of wanting to check on your project after the initial inoculation. The 7-14 days until mycelial growth feels like a decade, and you just want to make sure your project is doing something! You may pick it up a few times, maybe even shake it up a bit to see if anything’s developed in the centre- and this is where you may go wrong.
Mycelium needs consistent environmental conditions in order to thrive, and spores forming mycelium can be a slow process to start. Once you have mycelial buds in the bag, they will work much quicker!
But until then, the spores have to develop on their own and branch out to one another to colonise the bag. As you pick the bag up, shake it, move it, etc., you are jostling the spores about, introducing them to light and potential contaminants in the environment.
It is much safer to check on your project no sooner than 5-7 days post-inoculation. Anything more than this to start can affect your project’s speed. After mycelium has been spotted, you can check on it every 3-4 days briefly.
The only time you will need to watch over the project more closely, is when it’s fruiting so you can harvest mature fruits as soon as they develop. If you feel like your project is being slow to start, please pop us an email or a message!
You’re all set!
Now you know the dos and don’ts of starting your first mushroom project, you should feel more confident in your set-up and method!
If you choose to use one of our kits, please take a look at our guides here.
If you have any questions or queries about anything spoken about in this blog, or otherwise, please feel free to contact us for support!
Disclaimer:
This information is intended for educational purposes only, and to be applied in the growing of Gourmet Health Mushroom varieties such as Lions Mane, Oyster Mushrooms, etc. We do not recommend or encourage the growth of magic mushroom spore strains, which are sold for microscopy purposes only- to be viewed from under the microscope only. We strongly encourage you follow the law local to you.